Leah Stirewalt

Out of Deep Waters

  • Home
  • About
  • Speaking
    • Speaking Topics
    • Endorsements
    • Booking – Inquiry Form
  • Resources
  • Contact
  • Disclosure

A Little Sunday DIY

July 14, 2013 by Leah Stirewalt Leave a Comment

I thought I’d go ahead and share another little DIY project I’ve been working on (yes – this one was Pinterest-inspired too)!

I’m a keeper of cards! I love getting/giving cards, even if they are almost extinct. But, one of the issues I’ve had with my card collection was lack of organization. They just existed in piles…birthday, Mother’s Day, Christmas, just because, thank you…all piled up together. I found an idea on Pinterest where someone made little books out of their cards, grouping them by category/holiday. So, here is my attempt at doing the same thing.

The first book I made was for 40th Birthday cards. I actually received more on that birthday than any prior, so it really needed to be a collection of its own. The other birthday cards can co-exist together in one book.

Most of the examples I found on Pinterest used chipboard, purchased from a local craft store. However, being a thrifty soul, I chose to use recycled cereal boxes, pasta boxes, cardboard, etc. for my chipboard and the “covers” of the books.

IMG_6217 IMG_6218
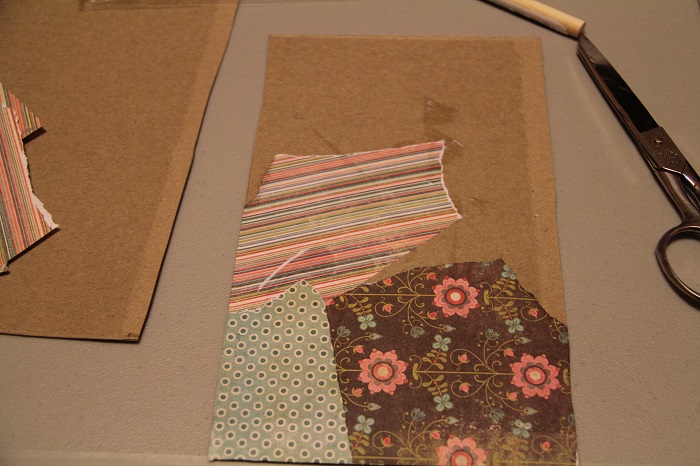
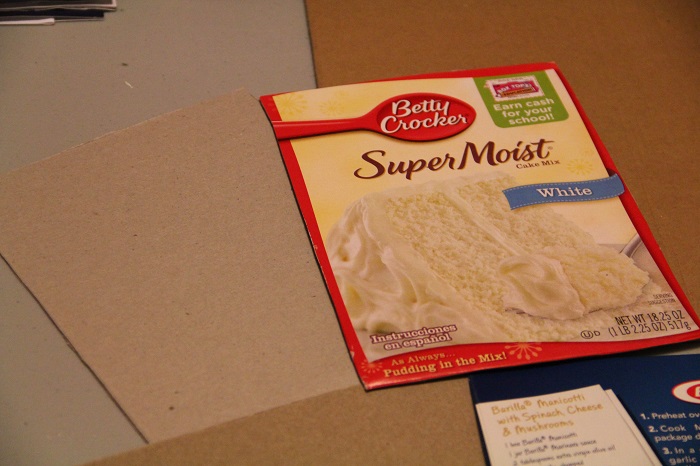
I simply cut the cereal boxes down to a size just a little bit larger than the largest card in the stack.

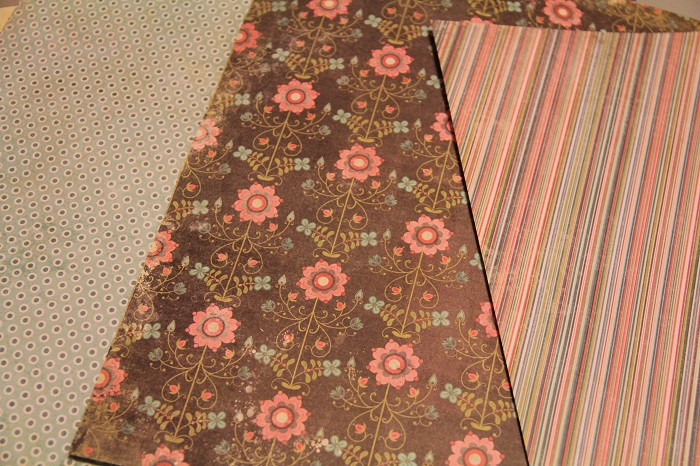
Since I’m also a scrapbooker, I’m never short on scrapbook paper and chose to use some in my stash to decorate the cereal boxes.

IMG_6223

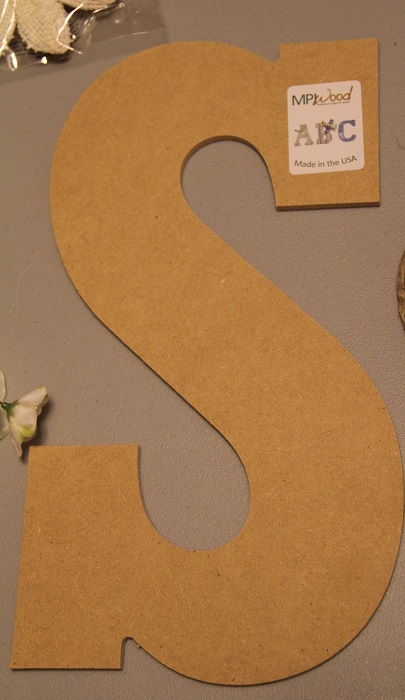
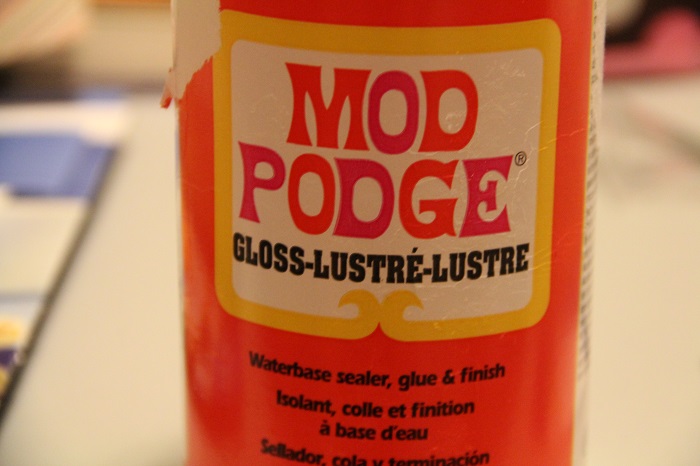
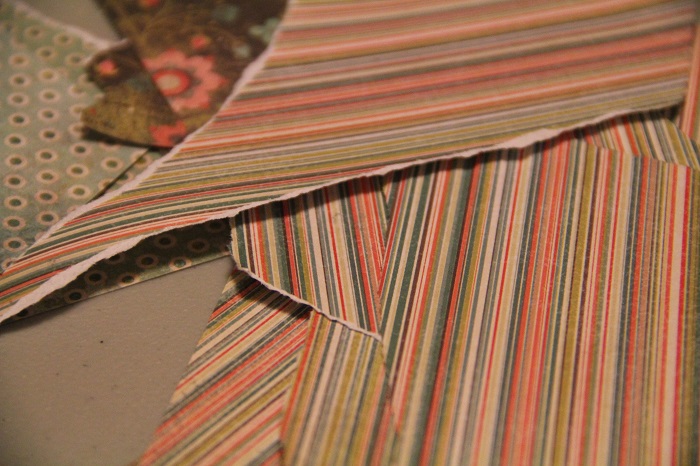
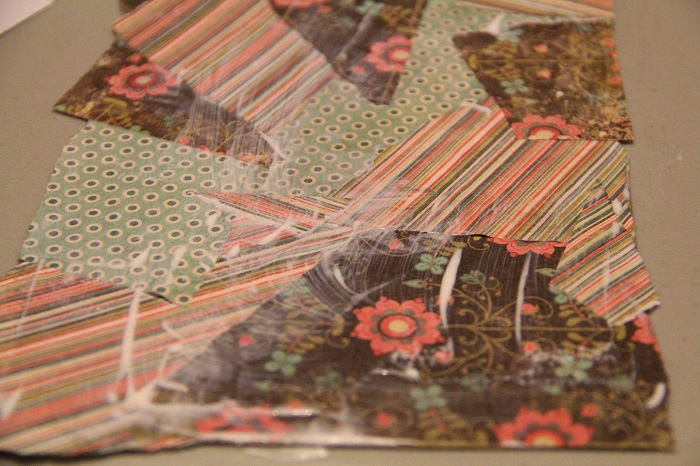
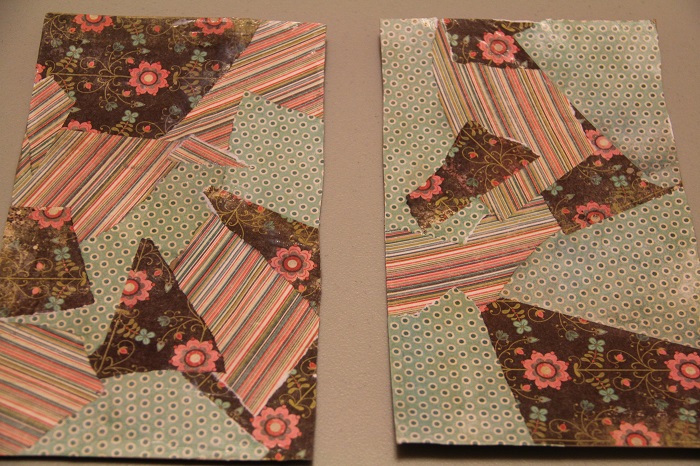
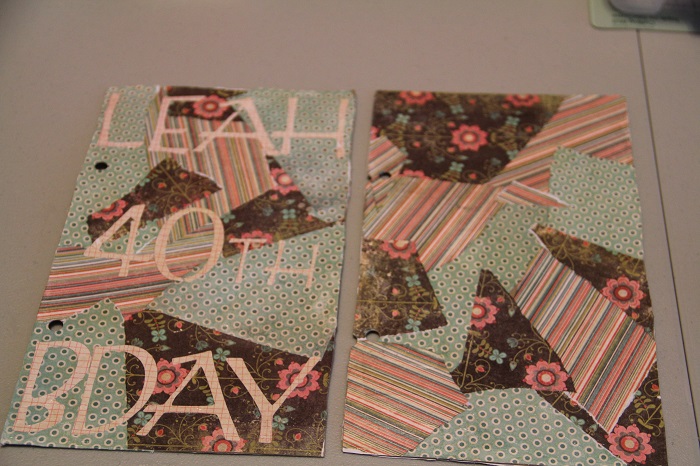
For the 40th Birthday book, I ripped up some of the scrapbook paper and used Mod Podge to glue it to the chipboard / cereal boxes. That was just the design element I chose for this particular one. I used my Cricut to cut out the letters used on the cover, but you could also use stickers if you prefer to go that route.

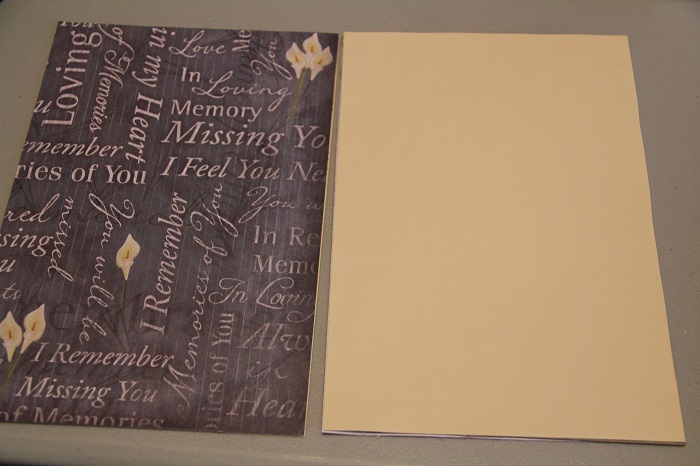
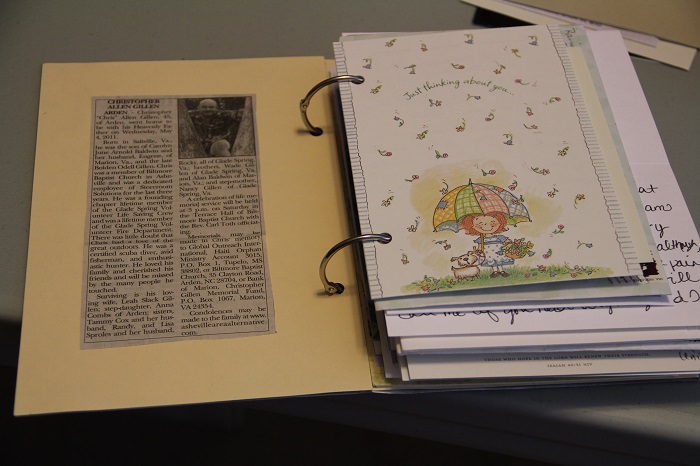
In the next book, sympathy book #1, I simply hot-glued the paper to the cereal boxes – no ripping, no Mod Podging at all. I used “in memory” type paper to decorate that particular cover.

IMG_6221

IMG_6224

IMG_6226

IMG_6227

IMG_6231

IMG_6284

IMG_6277

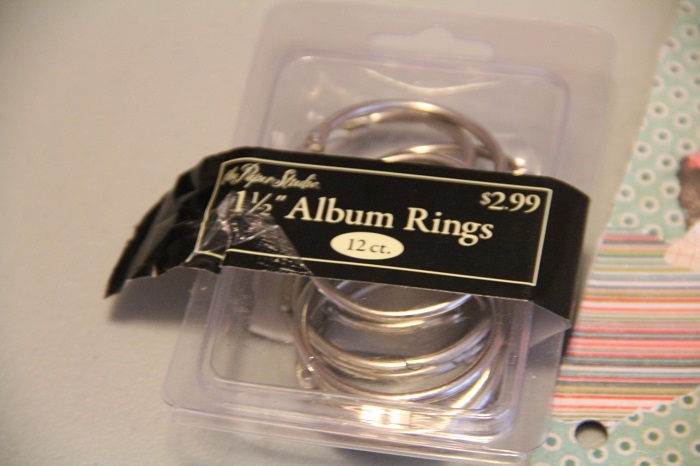
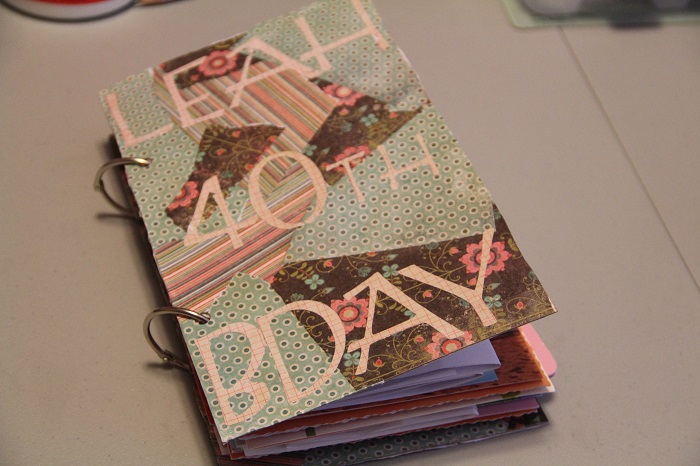
I then used a hole-punch to punch two holes in the left-side of both the top and back covers as well as in each card going in the book. I chose 1.5″ album rings that you can find at your local craft store to “bind” the books together.

IMG_6276

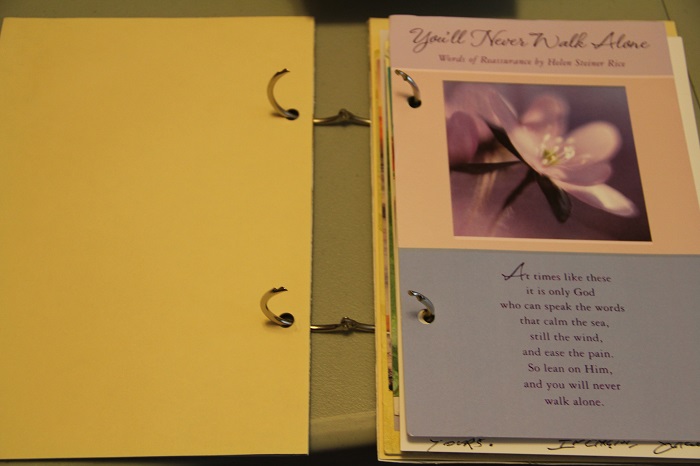
Insert all the covers and cards onto the rings, close them up, and you’re all set! VERY easy, but it can be time consuming, depending on how elaborate you want your covers to be. Now, for my sympathy book, I did choose to place a copy of the obituary inside the front cover – simply to enrich the book even more. Overall, however, the 40th birthday party book took me much longer than the sympathy book due to all of the small pieces of paper and Mod Podge usage.

IMG_6279


IMG_6285


IMG_6286


IMG_6289

I plan to make several more…including another sympathy book to finish up storage of all the cards I received following my previous husband’s death. I also have cards ready for Mother’s Day, Valentine’s Day, thank you, just because, and several more. I’ll simply work on them as time allows and as I have empty cereal, cake, or pasta boxes to use. 🙂

Have a blessed rest of the day!

  • Click to share on Facebook (Opens in new window) Facebook
  • Click to share on X (Opens in new window) X
  • Click to share on LinkedIn (Opens in new window) LinkedIn
  • Click to share on Pinterest (Opens in new window) Pinterest
  • More
  • Click to email a link to a friend (Opens in new window) Email
  • Click to print (Opens in new window) Print

DIY: Letter S Wreath

June 27, 2013 by Leah Stirewalt Leave a Comment

And the winner from Monday’s giveaway post is… Allison Morrison (Date/time stamp – June 24, 3:51 pm)! Congratulations! Be sure to send me an email at [email protected] or on Facebook with your mailing address, and I’ll get your “prize” sent right out to you! Stay tuned for more giveaways during this 40 days series. The next one begins on Monday!

Yes, once again, I’ve been inspired by the creative genius of DIY giants I’ve discovered on Pinterest. I’ve “pinned” more ideas than I’ll ever get to in my lifetime, but a gal can dream right?

I saw something similar to this “Letter S Wreath” from another Pinterest crafter, and I simply tweaked it to make it my own.

Supplies needed:

  • Letter of your choosing
  • Twine
  • Hot glue and glue gun
  • Scissors
  • Embellishments of your choosing (I used silk and burlap flowers, gemstones, and plastic butterflies)
A sampling of my supplies

IMG_5748


IMG_5753
I found various packs of these in the $1 bin at Michael’s!


Another $1 bin find at Michael's!
Another $1 bin find at Michael’s!


Leftover twine from a previous project

I started by wrapping the twine around the letter and hot-glued in places, as needed. I will say – the letter “S” was a difficult one to wrap, with all the curves. Had to get a little creative, even in the process of wrapping.

Not perfect, but embellishments are great for hiding imperfections!

After finishing up the twine portion, I chose which embellishments I wanted to use to help jazz it up. I ended up selecting ones that would work well with my kitchen color scheme, because it’s going to be hung on the door in our kitchen leading out to the deck.

This was actually a flower that I pulled off the stem just to use the bud. Another big find at Michael's 70% off $1.99!
This was actually a flower that I pulled off the stem just to use the bud. Another big find at Michael’s 70% off $1.99!


And the nearly finished product…

IMG_5767


Now hanging on the door…

IMG_5769


Can’t wait to see you back here tomorrow! Have a blessed Thursday blog friends!


  • Click to share on Facebook (Opens in new window) Facebook
  • Click to share on X (Opens in new window) X
  • Click to share on LinkedIn (Opens in new window) LinkedIn
  • Click to share on Pinterest (Opens in new window) Pinterest
  • More
  • Click to email a link to a friend (Opens in new window) Email
  • Click to print (Opens in new window) Print

Meet Leah

Leah StirewaltI became "twice widowed" when my beloved prince, Joel, went to his Heavenly home after a brief and sudden illness on February 12, 2017. I’m in a place of shock and devastation, but I intend to use this format to journal my second widow journey, much like I did my first. It’s my open journal, my electronic oasis, and it’s often the place I find true healing as I allow myself to “come clean” with my feelings. Read More...

Let’s Connect

  • Facebook
  • Instagram
  • Pinterest
  • Twitter

Subscribe for Updates

Enter your information below to subscribe to blog updates!

Privacy Policy

For Sharing

Leah Stirewalt - Out of Deep Waters

Latest Posts

  • Lost in the Desert
  • What I Remember Most About the 2016 Election (and it’s Not What You Might Think)
  • Have you heard the crickets chirping?

My First Book

My first book details the account of my first widow journey. Learn more below.

Rescued and Restored book

Categories

Archives

Copyright © 2026 Leah Stirewalt | Design & Development by MRM | Privacy | Terms | Log in